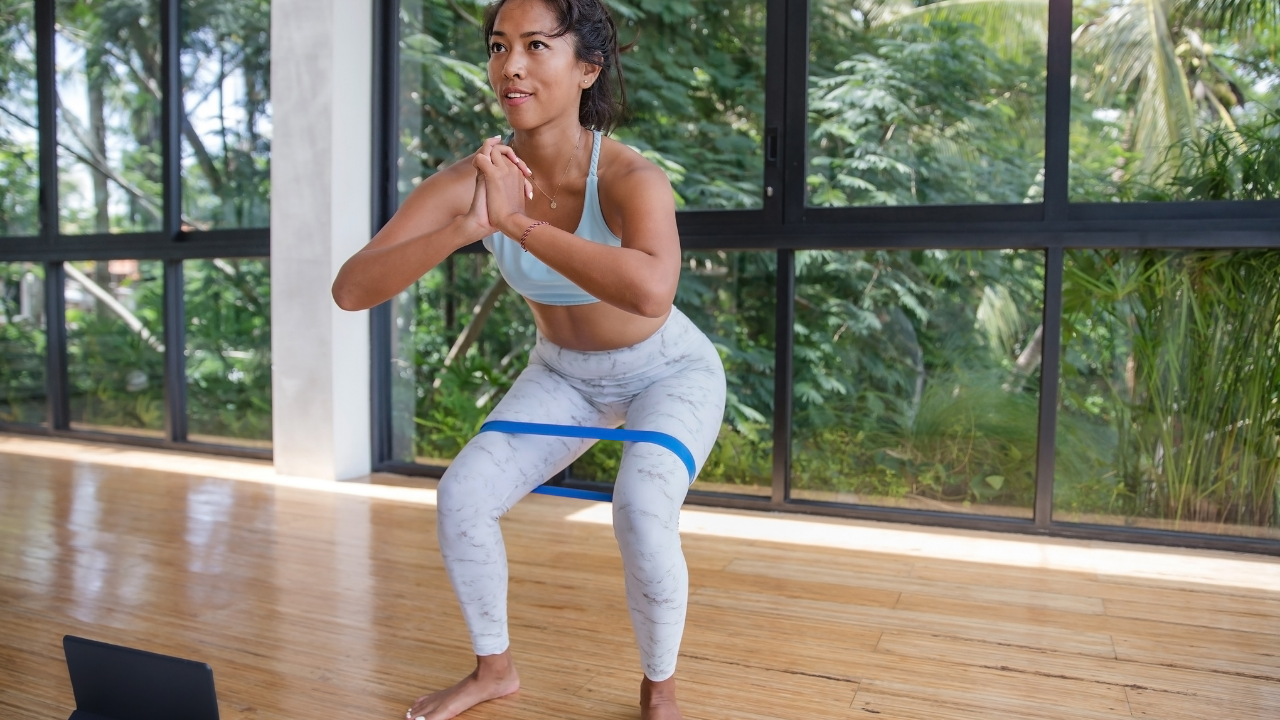
Band walking is a good exercise to strengthen your hips. Unfortunately, many people do it wrong. The problem is that the hip is not positioned correctly when performing the exercise. Additionally, people often don’t take into consideration muscle coordination during the movement. If you feel a burn in your glutes, that doesn’t indicate proper form. Instead, when you are doing the exercise right, your glutes, abs, hamstrings and quads should engage together. Practice the following two exercises from the Postural Restoration Institute® in order to maximize the benefits of your band walking.
 |
 |
Side Band Walking
- To start, place a band around your thighs or ankles and stand with your feet together pointing straight ahead. Note that you should start with a light resistance band on your thighs and progress to heavier resistance as you move the band down to your ankles.
- Next, step directly to the left side, landing on your whole foot.
- Now, transfer your weight to your left leg. At this point, check to see if you can sense your left heel, big toe and arch. Be sure you evenly distribute the weight of your left foot from front to back and side to side.
- Then, shift your left hip back to properly align your hip and pelvis. So that you can see what you should look like, note the first picture. Here, you can see that my left hip is rotated behind my right and the zipper of my shorts is pointed towards my left foot. In order to be in proper position, use your glutes and hamstrings to rotate your hip back.
- At this point, engage your abdominals on the left side by tucking your pelvis under, rounding your back and sidebending to the left. In the picture, notice that my left shoulder is lower and my abs are crunched back and towards the left. Like the picture, you, too, should be centered over your left leg, feeling your left abdominals, hamstrings, inner thigh and glutes all working together. For more instruction on centering, please read my blog: The Best Exercise You Can Do for Running Efficiency.
- Now, lift up your right foot and hike your right hip higher than your left. This moves your body weight further over to your left leg. Meanwhile, keep your left big toe in contact with the ground to avoid supinating (rolling your foot outward onto the outside edge). Hold the position shown in the second photo for 2-5 seconds. While holding, check that your back muscles are not working. You may need to re-tuck your pelvis and increase the engagement of your abs to transfer the work from your back into your hip muscles (i.e. your butt).
- Making sure that your toes are pointing forward, bring your right foot to meet your left with your hip still hiked.
- Now, lower your right foot to the ground and repeat the exercise 8-12 times. Then switch sides by going the other direction.
- Meanwhile, breathe as you move: inhale through your nose and exhale out your mouth.
- Look up, not at the floor, and don’t stare at one spot for an extended time. These are both cheating strategies, using your vision for stability.
 |
 |
Backward Band Walking
- First, place a band around your ankles and stand with your feet shoulder-width apart, pointing straight ahead.
- Start with right foot back and right arm forward, as shown in the first picture.
- Now, transfer your weight to your right leg and shift into your right hip. If you need to, refer again to the instructions in steps 4 and 5 above.
- Then, without losing your centered position on the right leg, pick up your left foot and move it in a semi-circular direction out and away from your body. Keep the toes on your left foot pointed straight forward. You should feel work in your glutes on both sides. The tendency is for the pelvis to rotate back to the center, which you should avoid. Watch out for that. If you are not feeling it in your right glute, check your knee position on that side. You may need to bring it in by increasing the activation of your right leg’s inner thigh muscles.
- At this point, check the balance across your right foot. Ensure you are maintaining equal weight distribution and sensing your heel, big toe and arch.
- Next, slowly switch your arms: bring the left arm forward and move the right arm back as you step your left leg backwards.
- Hold your left leg stationary for 2-5 seconds before setting it down. Make certain that the muscular work is in your hips and you have not arched and tensed your lower back.
- Now, set your left foot down just behind your right foot. Don’t go too far back, as you may lose your abdominal position and centering on the right side.
- Finally, transfer your weight to your left leg and shift into your left hip.
- Repeat the same movement on this side and complete 5-10 steps backwards with each leg.
Questions? Contact me.


